Installing tarp on a roof without nails 1.
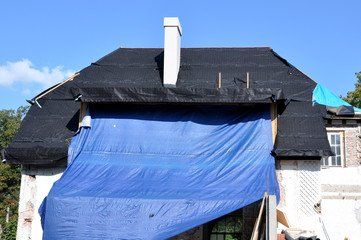
Putting a tarp on a leaky roof.
Lay more 2 by 4s on either side of the tarp and attach those as well for a tight well secured water barrier.
Lay the tarp flatly over the damaged area and make sure there are at least 4 feet of it overhanging past the roof s peak and the rest over the eave.
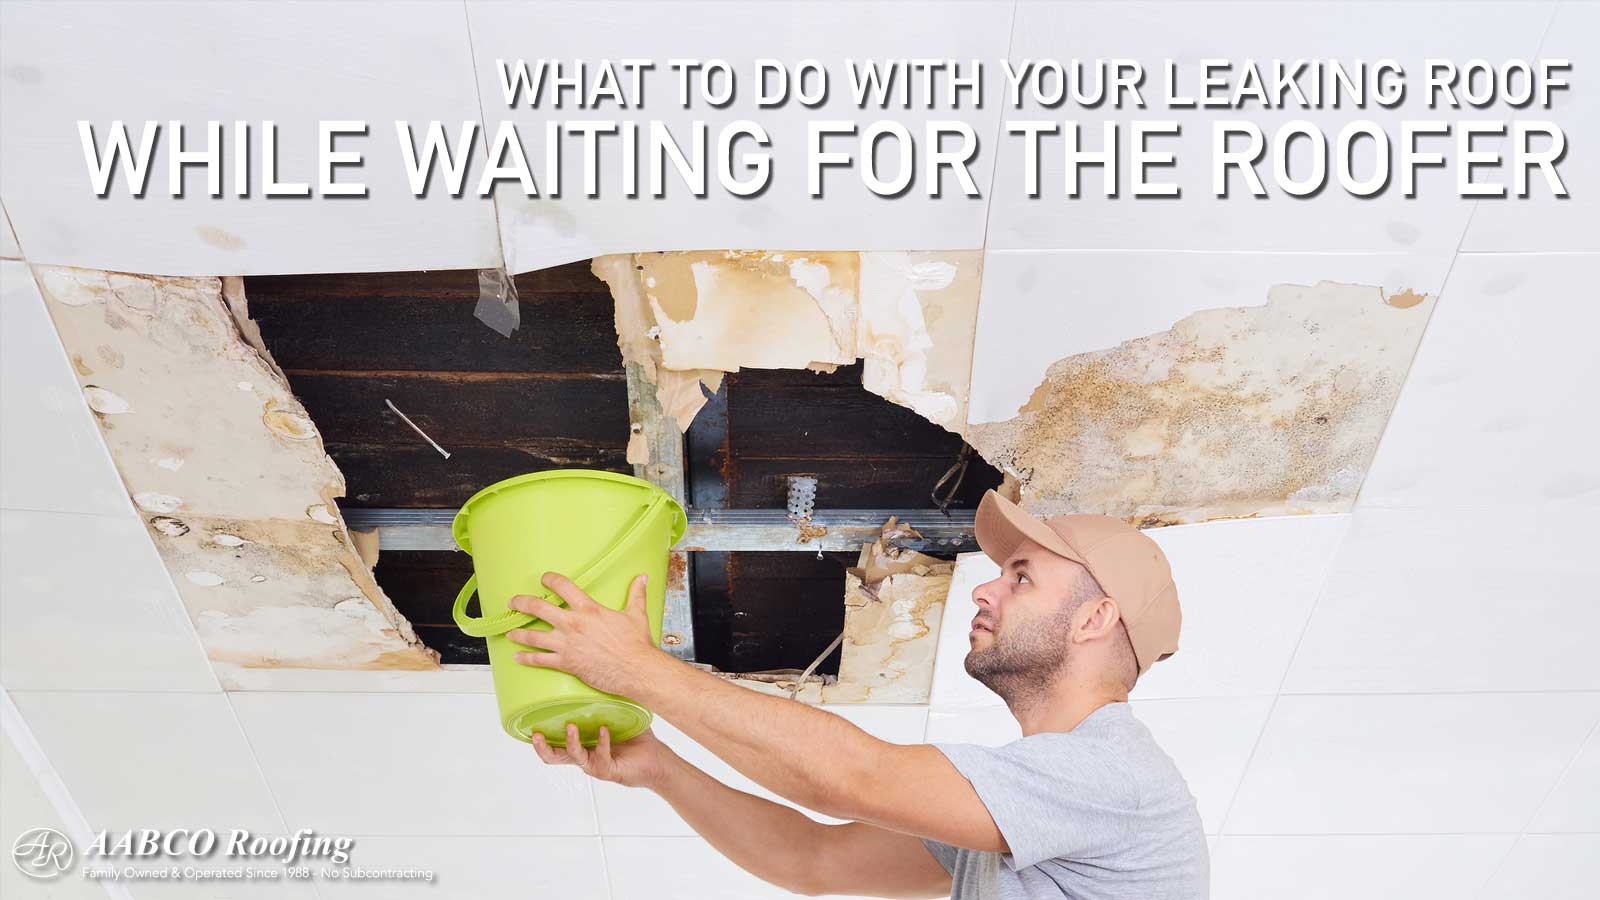
Find the source of the leak.
Unrolling and positioning the tarp 1.
You need to know first which spot on the roof needs tarping up.
Find the source of the roof leak.
Get some friends or family to help you.
Create an anchor board by rolling the tarp s peak end with a 2 x 4 inch board and nailing the tarp to your board with.
Pull away from each other until the tarp is fully unrolled.
The 2 by 4 should be about 2 feet longer than the tarp width.
Then fold the excess tarp under a few rotations for a tight clean fit.
Positions several 1 2 pieces of lumber on the tarp running vertically down the slope of the roof.
Cut off the unrolled section of tarp with a utility knife.
Time to add your furring strips.
It makes sense to get most of the pieces of wood up on the roof beforehand.
Try to pick a day that is not windy or else you may face frustration.
Unroll the tarp from the.
Wrap the tarp around the 2 by 4 at least twice.
If you plan on tarping your roof without a professional you should bring.
Bring all of your tools up to the roof.
Push the free end up and over the leaky section of roof until it extends over the peak and about 4 feet down the other side of the roof.
Center the tarp over the damaged area.
Sandwich the tarp by nailing a second 2 x 4 board to.
Wrap the end of side a over a 2 by 4 that is 2 feet wider than the distance between sides b and d.
Clear all debris on the roof.
Attach the 1x2s through the tarp and into.
If you have a helper this part is easy.
Measure the dimensions of the tarp to be used.
If possible wait to do this on a dry day.
If required cut plywood as needed cover up any existing penetrations with plywood secure the perimeter with screws every 6 to 12 into the roof sheathing below preferably into trusses unroll the full tarp make sure that the length extends 1 past the edge of the roof on the damaged side.
Partially unroll your tarp to cover the damaged area from the roof s eaves to peak.
Grab one corner of the tarp and have a helper grab the other end.
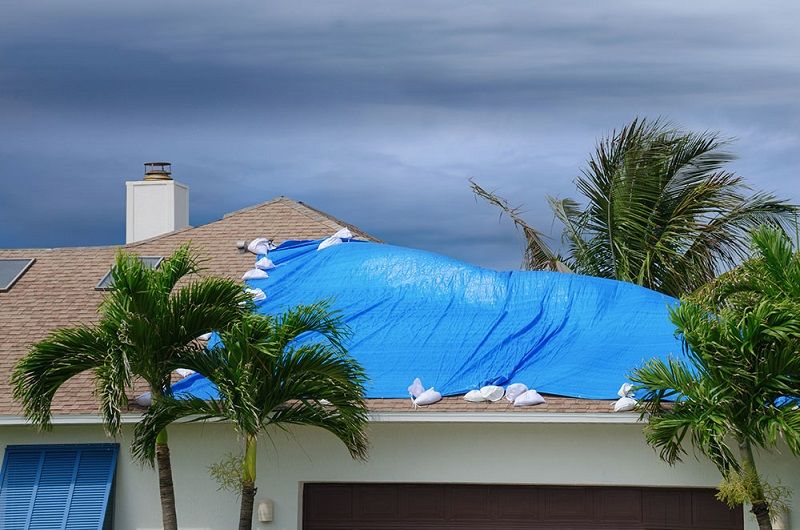
Install a blue tarp on a roof.
It probably goes without saying but the size of the damage also.
To secure a tarp to your roof.
Bring a brush with you onto the roof.
Extend the top edge of the tarp over the ridge of the roof.
Climb on top of the.
A tarp placed over a flat leaking roof can protect the interior of your home from further water damage.
Stretch a tarp flat on the roof.